> For the complete documentation index, see [llms.txt](https://help.1msg.io/1msg-knowledge-base/llms.txt). Markdown versions of documentation pages are available by appending `.md` to page URLs; this page is available as [Markdown](https://help.1msg.io/1msg-knowledge-base/flow-builder/basic-flow-builder-overview.md).
# Basic flow builder overview
The builder allows you to organize flexible multiple scenarios to communicate with your customers and save a lot of time by processing messages without an operator. You can create a simple autoresponder with files sent to customers on demand—or you can go further and arrange surveys, get various infos from your customers, save it, perform calculations, use HTTP requests to exchange data with your resources, such as an online store or CRM.
You can collect the necessary steps for organizing a flow in a visual, intuitive editor. It is located in your account under the Automation → Flow Builder menu item:
Flows list
On the right is the flows list. For clarity, we have already created two flows: Test flow and Example flow. To create a new one, click "+ Create" in the list of scripts and give it a suitable name.
The default flow is highlighted with a green marker on the left. This means that it is the one that will be run on this channel when the conversation is triggered—by incoming message from your customer for instance.
You can switch between flows according to your own conditions, such as time, marketing campaigns, and so on. In addition, from the active flow, you can call the other ones which are in the channel’s flows list.
### Inside the editor
Click on the flow name to get to the builder. To add an element, click the green "+" button. You will see a menu where you can select the desired block (step) — Text message, WABA template, Question and so on. After clicking on the corresponding item, it will appear in the constructor field:
Builder: addin an item
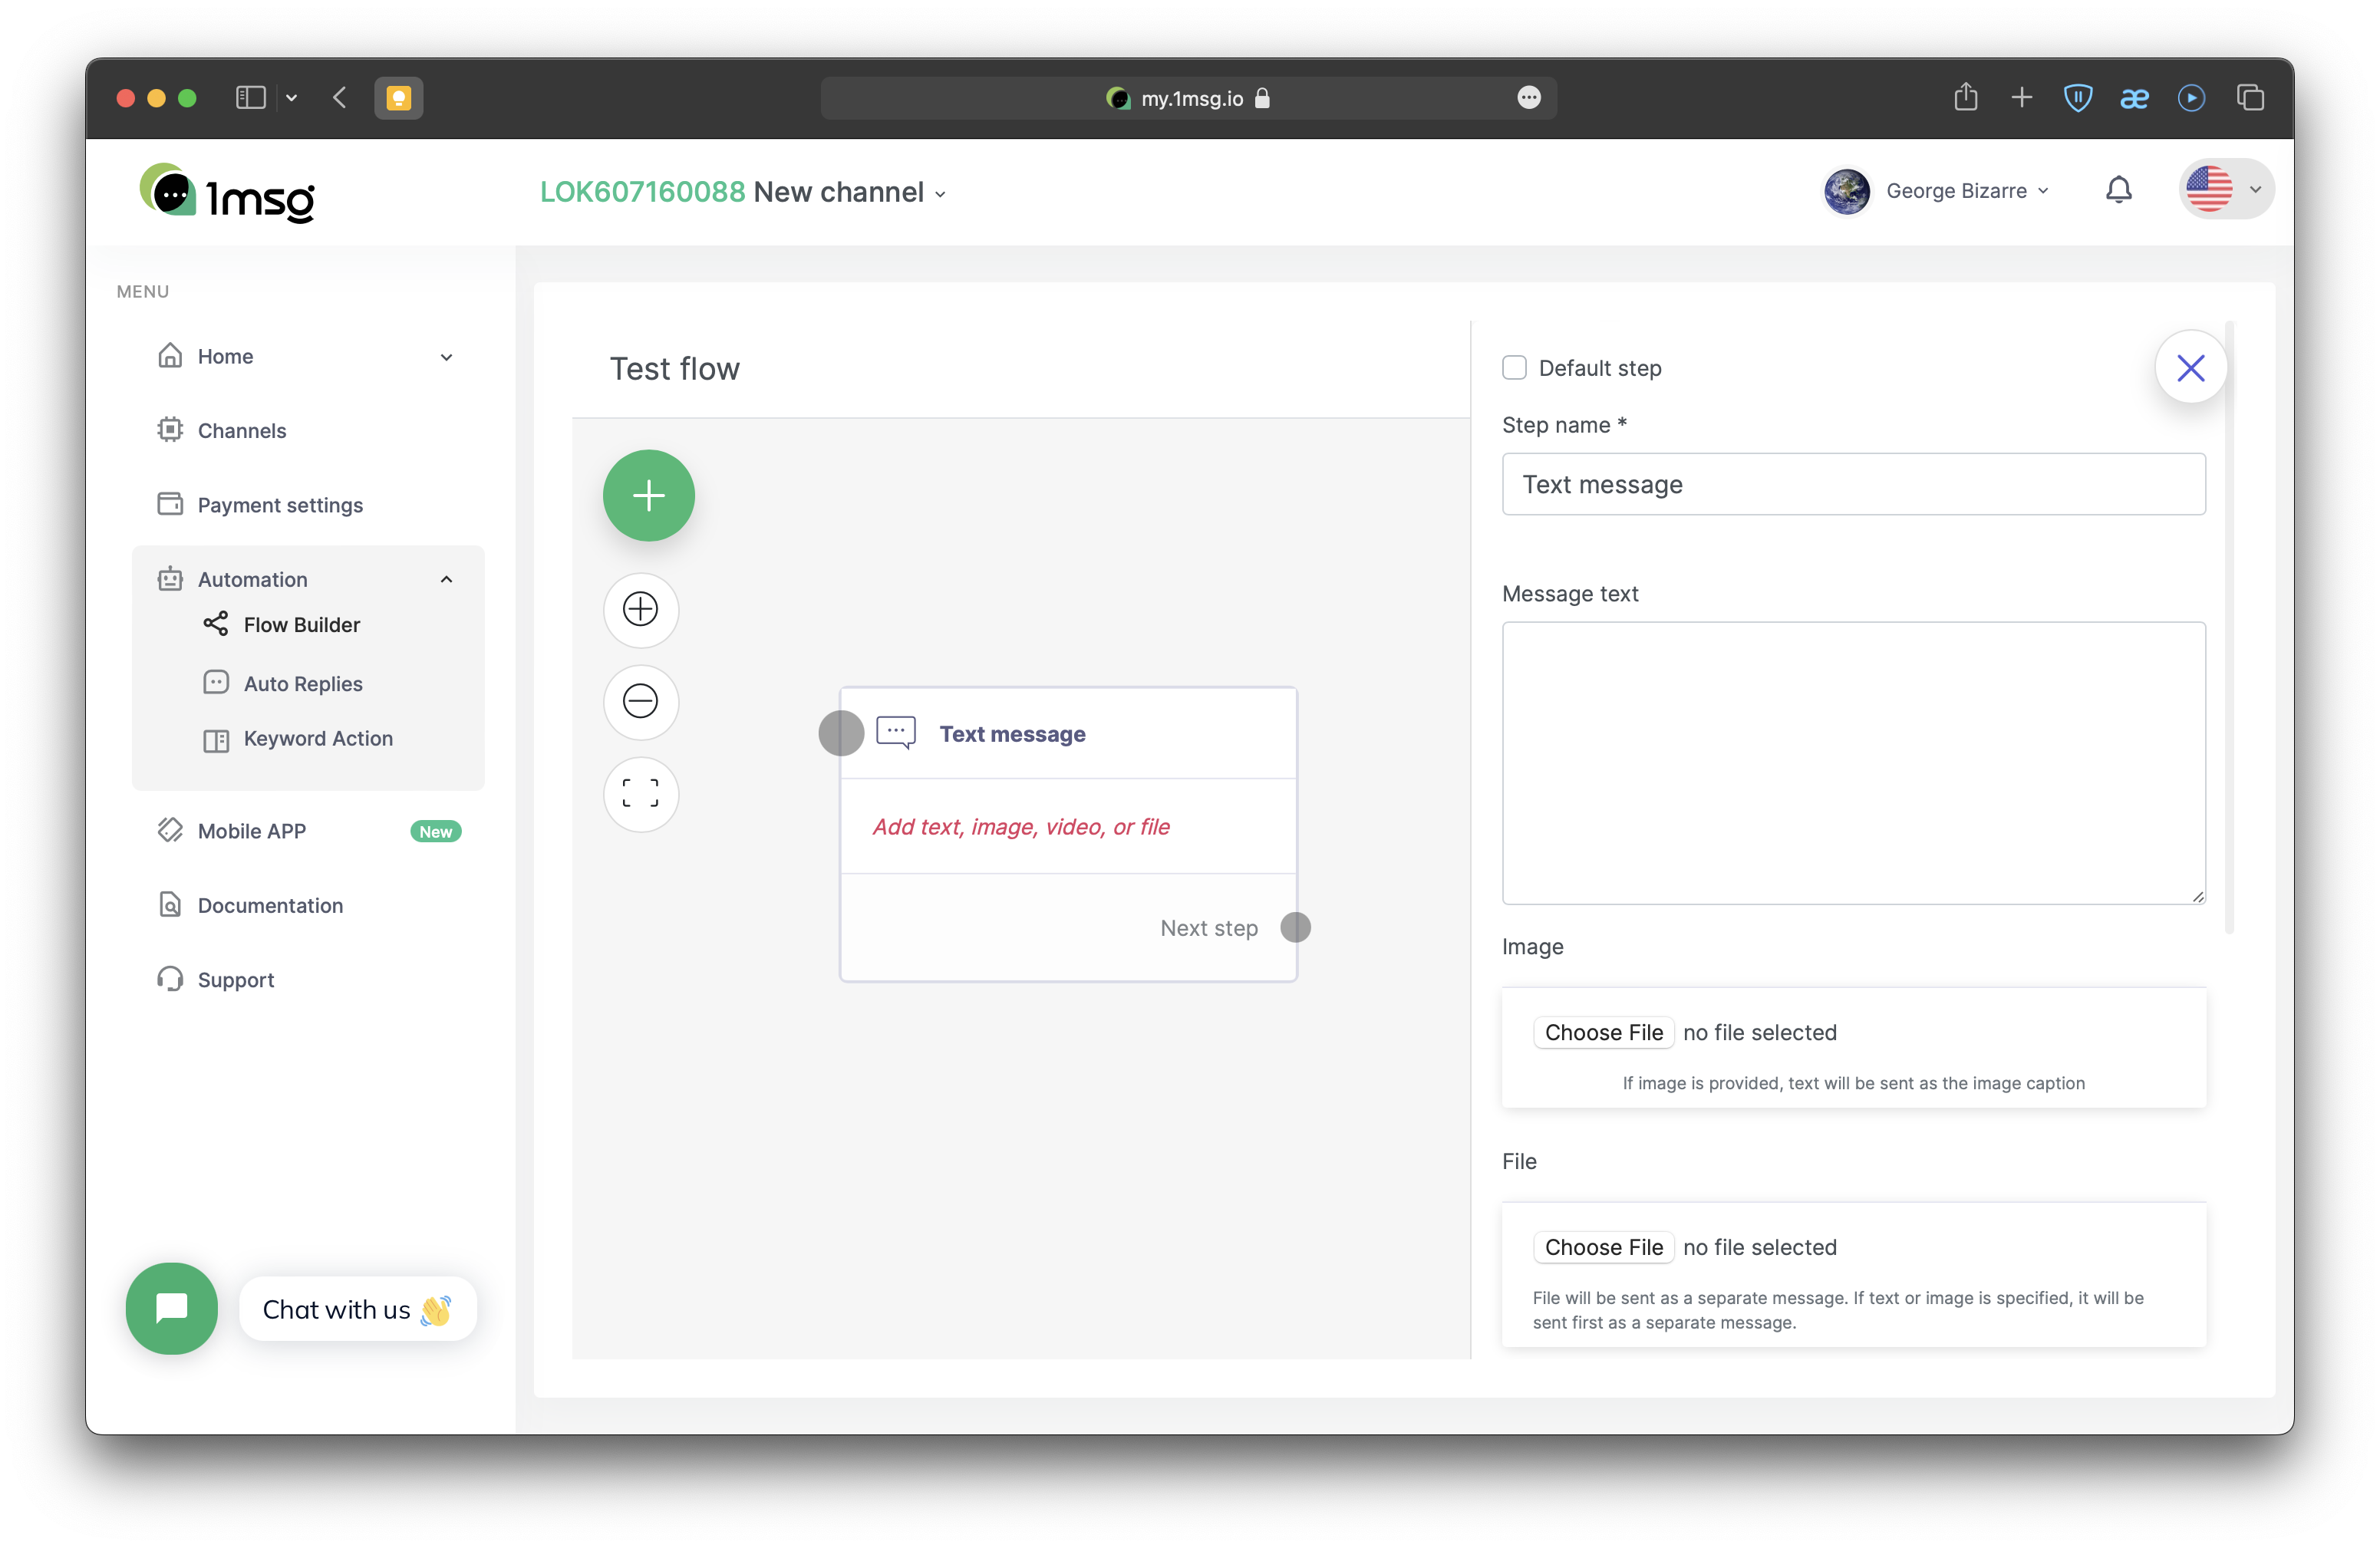
Clicking on a block will open the step editing panel:
Step edit panel
Imagine that we want to send a simple greeting in response to a client's message. Note the checkbox at the top of the panel: we need the default step in the script to be defined. To do that, we'll check the checkbox. That will start the execution of the script—the action described in the step will be executed. Next, give the step a clear name (it will be visible only to us) and type in the greeting text:
Describing the step
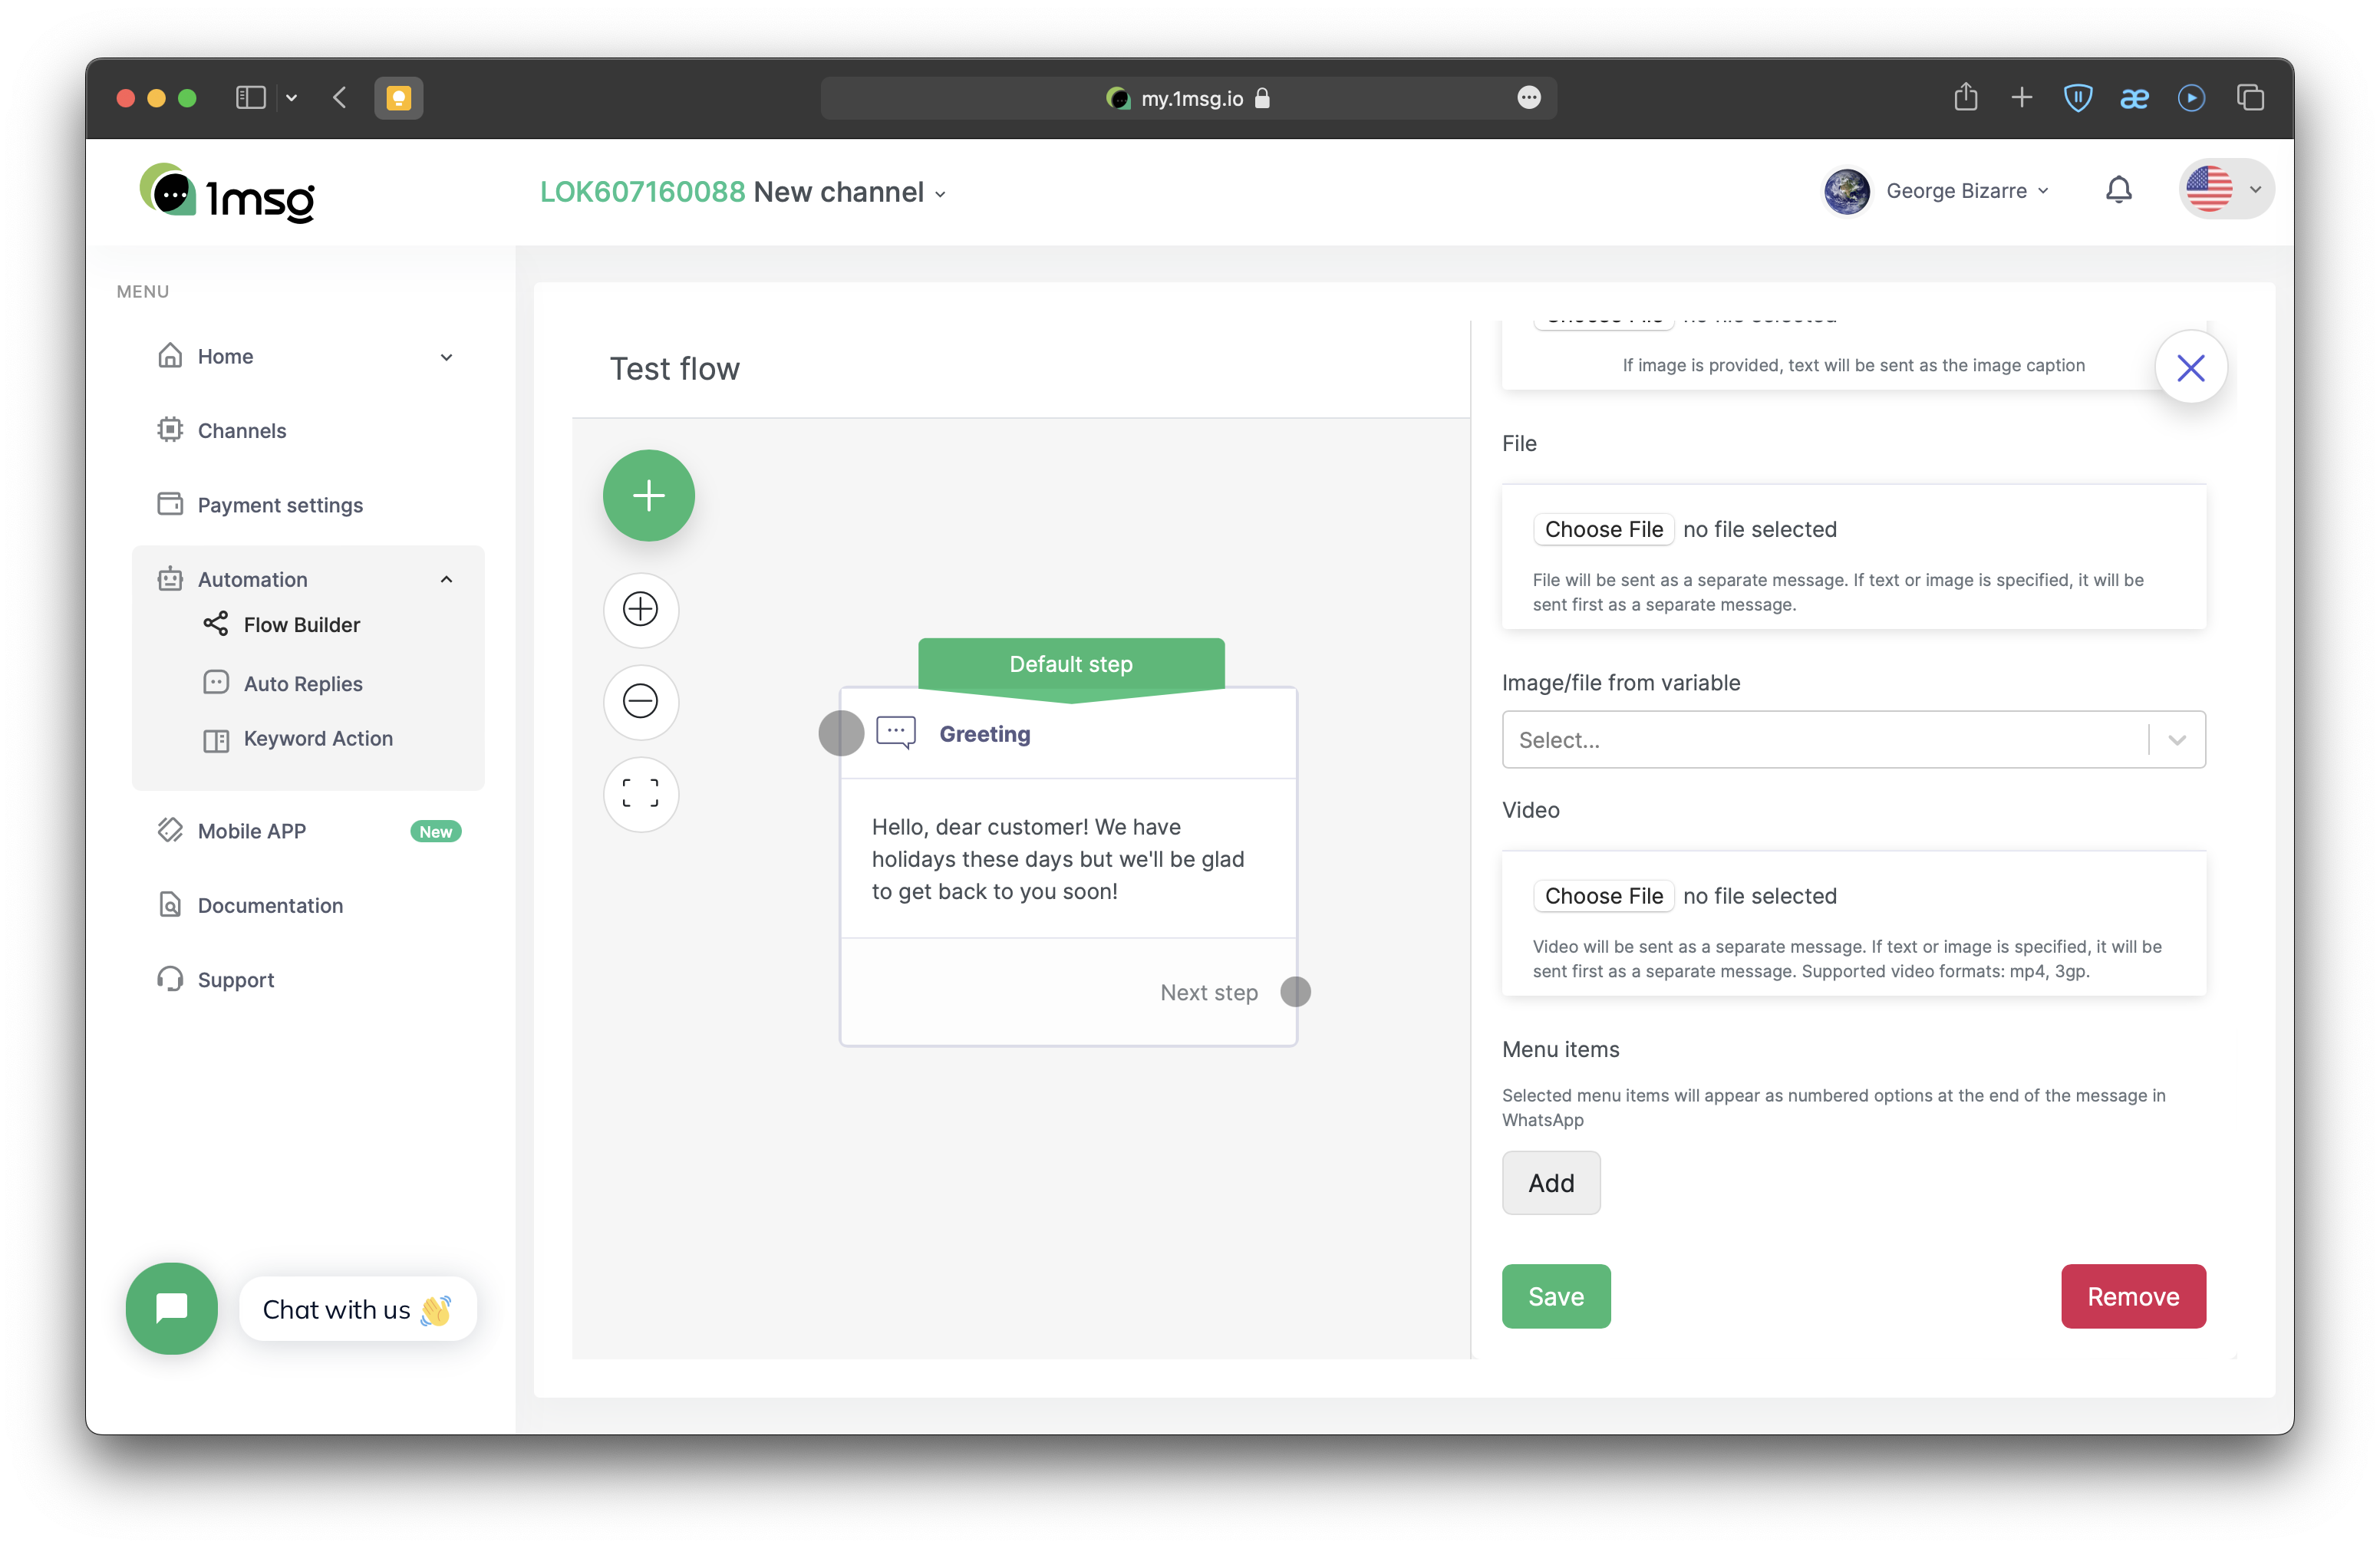
After that, let's scroll down to the bottom of the panel and click Save. Notice how the step view has changed—you now see a green “roof”—the default step marker, also, the name of the step and its contents are appeared:
Simple greeting example
Now, if the client writes us any message, he will get the greeting that we saved in the first step block:

At this point, we created a simple automation (bot) that greets the client. Quick feedback isn't bad, but there's a lot more to it than that!
In the next article, we'll look at a simple multi-step flow to dive into the builder's ability to create flexible scenarios.